![Cloud Egg and Fried Chicken Recipe [Pooh bear floats in a cloud]](https://img-global.cpcdn.com/recipes/f91d9fe8feb9ac31/751x532cq70/cloud-egg-and-fried-chicken-recipe-pooh-bear-floats-in-a-cloud-recipe-main-photo.jpg)
Hello everybody, it’s Brad, welcome to our recipe site. Today, I will show you a way to make a special dish, cloud egg and fried chicken recipe [pooh bear floats in a cloud]. One of my favorites food recipes. For mine, I am going to make it a little bit tasty. This is gonna smell and look delicious.
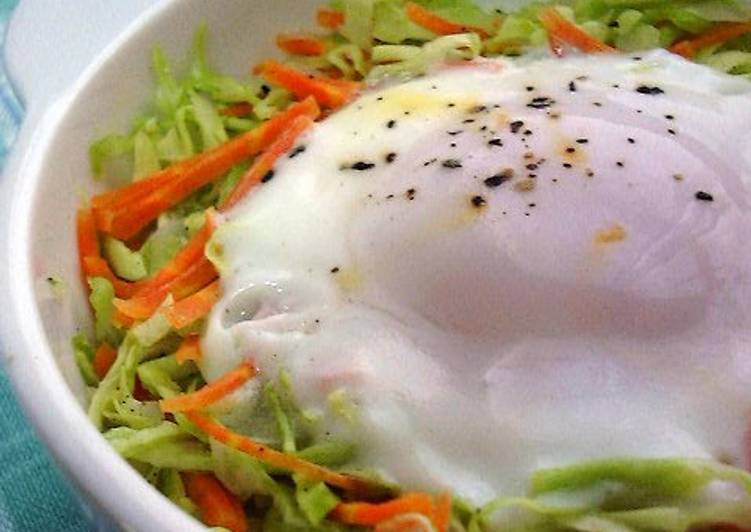
Prepare the cloud egg - separate the egg white and egg yolk. Add a little salt to the egg white and whisk till is soft peak. Put on a baking paper in a cloud shape and add the egg yolk.
Cloud Egg and Fried Chicken Recipe [Pooh bear floats in a cloud] is one of the most popular of recent trending meals on earth. It’s simple, it is quick, it tastes yummy. It is enjoyed by millions every day. Cloud Egg and Fried Chicken Recipe [Pooh bear floats in a cloud] is something that I have loved my whole life. They’re fine and they look wonderful.
Steps to Prepare Cloud Egg and Fried Chicken Recipe [Pooh bear floats in a cloud]
To begin with this particular recipe, we must prepare a few components. You can cook cloud egg and fried chicken recipe [pooh bear floats in a cloud] using 8 ingredients and 6 steps. Here is how you cook it.
Ingredients
The ingredients needed to make Cloud Egg and Fried Chicken Recipe [Pooh bear floats in a cloud]:
- Make ready 1 egg
- Make ready 1 Spring Onion Prata (from supermarket)
- Prepare 1 pack chicken fillets (diced)
- Prepare 1 pack fried chicken powder
- Make ready Pooh Bear creation
- Make ready Cheese
- Get Apple
- Make ready Seaweed
Pooh bear floats in a cloud technique. Heat up a pan with some oil, add in the frozen spring onion Prata from supermarket, cook till is crispy. Prepare the fried chicken cube by adding the fried chicken powder to the chicken fillet. Below is the recommended from DonDonDonki.
Instructions
Instructions to make Cloud Egg and Fried Chicken Recipe [Pooh bear floats in a cloud]:
- Heat up a pan with some oil, add in the frozen spring onion Prata from supermarket, cook till is crispy.
- Prepare the fried chicken cube by adding the fried chicken powder to the chicken fillet. Below is the recommended from DonDonDonki. You may use any brand from your supermarket. It is recommended to leave the mixture for 15mins before deep frying.
- Prepare the cloud egg - separate the egg white and egg yolk. Add a little salt to the egg white and whisk till is soft peak. Put on a baking paper in a cloud shape and add the egg yolk. Bake in a preheat oven of 180c and bake for 10-15mins.
- Deep fried the chicken fillets and cook till is crispy.
- Assemble the food with the Prata first, followed by the cloud egg. Create the ear, hands and legs of pooh with cheese and the body of pooh with apple. Cut out additional cheese using bear cutter and add to the dish. Add the fried chicken.
- #mycookbook (Week 2)
You may use any brand from. This recipe for cloud eggs, centuries old, was developed in France, called Eggs in Snow, or Oeufs a la Neige.. In the end I might have well just made normal fried eggs instead. What is a cloud egg or egg in a cloud? Cloud eggs are low carb egg whites that are whipped and then baked.
As simple as that Recipe of Cloud Egg and Fried Chicken Recipe [Pooh bear floats in a cloud]
So that is going to wrap it up with this special food cloud egg and fried chicken recipe [pooh bear floats in a cloud] recipe. Thank you very much for your time. I am sure that you will make this at home. There is gonna be interesting food at home recipes coming up. Don’t forget to bookmark this page on your browser, and share it to your loved ones, colleague and friends. Thanks again for reading. Go on get cooking!
Print this page