Hello everybody, hope you’re having an incredible day today. Today, I will show you a way to prepare a special dish, taisen's fried breakfast sandwich. One of my favorites food recipes. For mine, I will make it a bit tasty. This is gonna smell and look delicious.
taisen's fried breakfast sandwich is one of the most popular of current trending foods on earth. It’s easy, it is fast, it tastes delicious. It’s appreciated by millions every day. taisen's fried breakfast sandwich is something which I’ve loved my whole life. They’re nice and they look wonderful.
The Best Days Always Begin With Jimmy Dean® Breakfast Sandwiches. An easy way to make an egg sandwich for breakfast! Let me know if you have any questions.
Guide to Make taisen's fried breakfast sandwich
To get started with this particular recipe, we must first prepare a few components. You can have taisen's fried breakfast sandwich using 8 ingredients and 11 steps. Here is how you cook it.
Ingredients
The ingredients needed to make taisen's fried breakfast sandwich:
- Take 1 to 2 eggs
- Take 2 slice of bologna
- Prepare 1 rolls
- Prepare 2 slice of cheese ( any kind )
- Prepare 1 butter
- Make ready 1 salt and pepper to taste. careful with the salt as the bologna will be a bit salty after being fried
- Prepare 1 for an extra kick of spice use a spicier pepper or add old bay
- Take 1 any condiment you like or use none
Classic breakfast sandwiches bring one image to mind: eggs and melted cheese over bread. While undoubtedly delicious, they're also a tad boring after a while. An egg sandwich is a great to start your day. We've got recipes that will answer all of your morning sandwich cravings.
Instructions
Steps to make taisen's fried breakfast sandwich:
- pre heat your skillet.
- once the skillet is hot enough slice the bologna just a bit so the middle doesn't bubble up
- melt some butter on the skillet
- put the slices on the skillet to fry
- crack an egg or two onto the skillet ( depending on how big you want the sandwich)
- pepper and salt lightly the egg
- add a bit more butter and put the rolls on top to lightly toast the bun
- cook both the bologna and egg as desired
- add any condiment you like on the roll like mayo, mustard or even spicy mustard if desired or leave plain after you have taken off the bun from the skillet
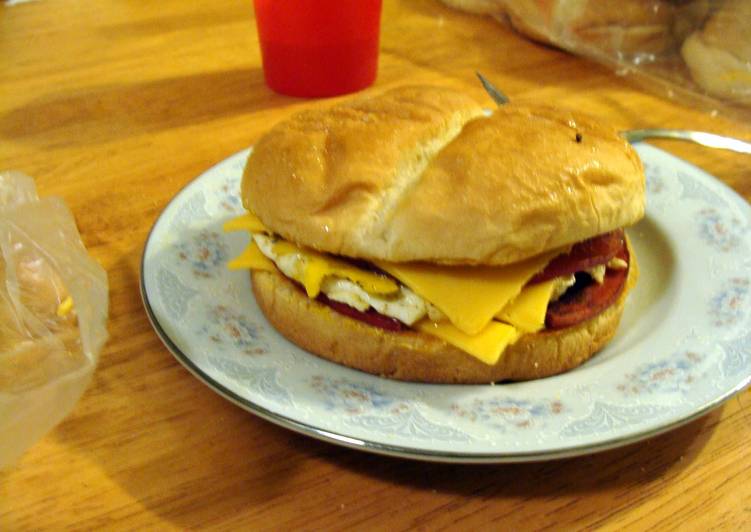
- put one roll on a plate then pile on the bologna, cheese and egg. add the other top bun. if it isn't hot enough stick the whole thing back on the skillet to heat a bit more without burning it.
- serve on a plate and enjoy!
If you want a more classic breakfast sandwich, try the Starbucks Turkey Bacon & White Cheddar Classic Breakfast Sandwich. The layers of this one-of-a-kind breakfast sandwich are nothing short of perfection: a fried egg, crispy bacon, crunchy, juicy chicken, all sandwiched together between a glazed, hand-fried doughnut. Instagram fashioned_and_fried But diners with strong appetites shouldn't sleep on the decadent breakfast sandwich, which features the famed fried bird, with an egg, sausage gravy, and bacon on top. These breakfast muffin sandwiches are perfecto for a quick breakfast at home. I like to freeze them and pop them in the microwave for a grab and go breakfast.
As simple as that Recipe of taisen's fried breakfast sandwich
So that is going to wrap this up for this special food taisen's fried breakfast sandwich recipe. Thank you very much for your time. I’m confident that you can make this at home. There’s gonna be more interesting food in home recipes coming up. Remember to save this page in your browser, and share it to your family, friends and colleague. Thank you for reading. Go on get cooking!
Print this page